As far as we are concerned, there are more and more Windows 8 tablets on the market. Not to be left out, Dell has recently launched its first windows tablet model which's called the Venue 8 Pro. As the official website claims, the Dell Venue 8 Pro gives users the power to quickly browse, watch movies, play games, polish resume, and pull together a killer presentation—all on a single PC.
Undoubtedly, Dell Venue 8 Pro has no problem in displaying 1080p videos, it does the job beautifully with screen bright, vivid and responsive. Whereas, this doesn't mean that it can play all types of videos. Actually, it can only accept videos in the .mp4, .h.264 and .wmv formats. What if you would like to enjoy the unacceptable videos on the Venue 8 Pro? Have no idea? Stay cool, we will show you the workable way to play videos on Dell Venue 8 Pro without format restriction.
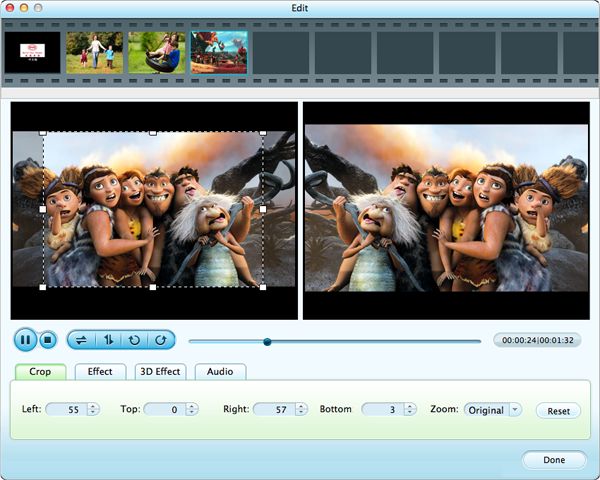
Before we get into the steps that we should take, let's look at the indispensable tool we need. The all-in-one Dell Venue 8 Pro Video Converter for Mac (Dell Venue 8 Pro Video Converter for Windows) was specially developed by Firecoresoft, aiming at helping users to convert videos to Dell Venue 8 Pro for smoothly playback. In general, this Dell Venue 8 Pro Video Converter for Mac combines both powerful conversion capability and fabulous editing functionality. These two key features will be illustrated in detailed guideline as below:
![]() Secure Download
Secure Download
![]() Secure Download
Secure Download
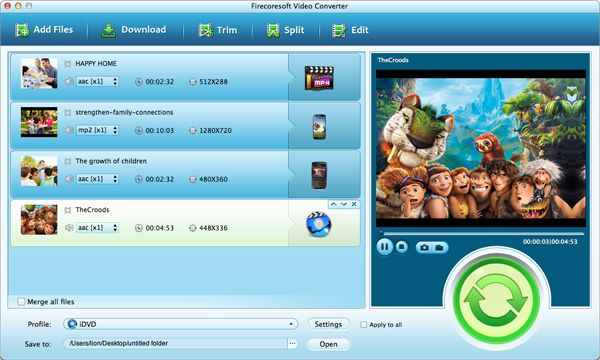
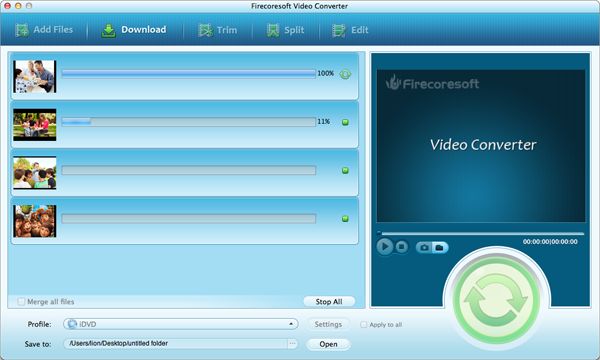
Make sure that you have downloaded and installed the Mac Video to Dell Venue 8 Pro Converter. Once run the program, you will be guided to its interface. Click on the "Add Files" button on the tool bar, you can import single or multiple video files into the program. You can preview the contents by clicking the play button. Of course, you can delete or change the sequence of the added video files.
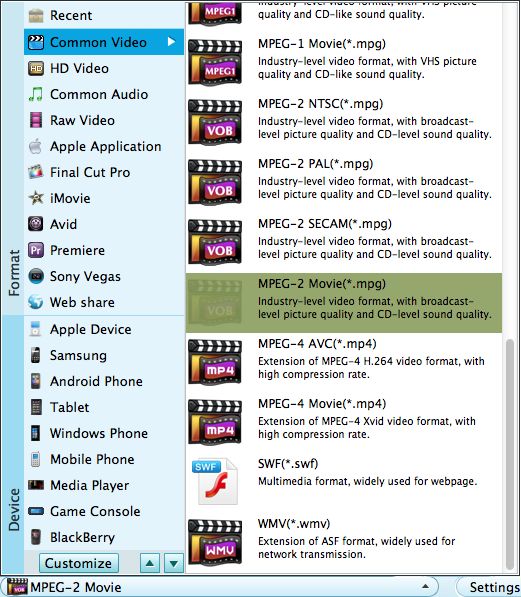
As was said before, Dell Venue 8 Pro accepts MP4, H.264 and WMV formats natively, therefore, you need to set any one of them as the output format before you can play videos on Dell Venue 8 Pro without format issues. You can hit the "Profile" button, then browse the popped-out format list to get the output format you like. In the meanwhile, you can press "Settings" so as to customize the resolution, frame rate, bitrate of the output video file freely.
Now that all have been done, one more step and it is done. Simply hit the "Start" button to get the conversion started. The smart program will take care of the job and once the conversion is finished, you will be notified by a small window.
What's Next
![]() Secure Download
Secure Download
![]() 30 Day Money Back Guarantee
30 Day Money Back Guarantee


Browser compatibility : IE/Firefox/Chrome/Opera/Safari/Maxthon/Netscape
Copyright © 2014 Firecoresoft Studio All Rights Reserved